Tel : 01273 936055
What to expect : Stone Floor Restoration
Describing the processes of Stone floor restoration
Jon hillier
4/9/20264 min read
Stone Floor Restoration: What to Expect During the Process
If you've never had a stone floor professionally restored before, it's natural to have questions. How long will it take? How disruptive will it be? Will you need to move all your furniture? Will there be dust everywhere? And what will the floor actually look like when it's done?
This guide answers all of those questions clearly and honestly, so you know exactly what to expect from start to finish — and can plan your day around it without any surprises.
Before the work begins: the survey
The process starts before any restoration work takes place. A reputable Sussex stone restoration company will always visit your property to assess the floor before providing a quote. Be cautious of any contractor who quotes without seeing the floor in person — the condition, stone type, finish and extent of damage all need to be assessed on-site to give you an accurate price.
During the survey, your contractor will inspect the tiles for scratches, etching, staining and structural damage, assess the grout condition, identify any chips or cracks that need filling, establish the stone type and finish, and discuss the result you're hoping to achieve.
The survey should result in a written quote that clearly sets out exactly what work will be carried out, what is included in the price, and what the expected outcome will be. At SSSR, all our surveys are free and come with no obligation.
On the day: what actually happens
Here is what a typical stone floor restoration day looks like in a Sussex home, from the moment the team arrives to the moment they leave.
Arrival and preparation
Your restoration team will arrive at the agreed time with all equipment loaded — rotary machines, diamond abrasive pads, wet vacuums, cleaning products, fillers and sealers. Before any work starts, the team will protect adjacent surfaces, skirting boards and any fixed furniture from splashing and dust. Kick boards under kitchen units are typically removed temporarily. Any loose furniture will need to be moved beforehand — your contractor should advise you on this when booking.
Deep cleaning
The first active stage is a thorough deep clean of the entire floor using pH-neutral stone-safe cleaning solutions applied with a rotary scrubbing machine. This removes ingrained dirt, old sealer residue, surface contamination and any build-up in the grout lines. The floor is then rinsed and the dirty water extracted with a wet vacuum. This stage alone can make a significant visual difference before any polishing has begun.
Repairs — chips, cracks and voids
Where tiles have chips, cracks or open voids (particularly common with travertine, which has a naturally porous structure), these are filled with colour-matched resin. The resin is applied, left to cure, and then ground flush with the tile surface so the repair is virtually invisible. This stage is one of the most technically skilled parts of the process and is where professional results diverge most clearly from DIY attempts.
Grinding and honing — if required
For floors that need more than a light polish — where there is significant scratching, etching, lippage between tiles, or heavily worn areas — the technician will use diamond abrasive pads on a rotary machine to mechanically remove the damaged surface layer. This is a wet process, so there is very little dust. The machine works progressively through coarser to finer grit levels, removing damage at each stage and leaving a smooth, consistent surface ready for polishing. This is the stage that corrects the physical damage to the stone and cannot be replicated by any consumer product.
Polishing
Using fine diamond resin pads — and in some cases polishing powders — the technician builds up the desired finish. For marble and granite this is typically a high-gloss polish; for limestone, travertine and slate it is usually a satin hone or mid-sheen. The polishing stage reveals the stone's natural depth of colour, veining and character, often to a standard the homeowner has never seen the floor reach.
Sealing
Once polishing is complete, a professional-grade impregnating sealer is applied across the whole floor. This penetrates the stone and creates a protective barrier against moisture, oils and everyday contaminants. The sealer is left for a set period to penetrate fully, then any excess is removed. Most sealers require 24–72 hours to cure fully before the floor can be used normally.
Final check and clean-up
Before leaving, your restoration team will inspect the floor thoroughly to ensure the finish is consistent and the result meets expectations. All equipment, and materials are taken away. The floor is left clean and ready — just the curing period to wait out before full normal use resumes.
How disruptive is it?
This is one of the most common questions Sussex homeowners ask, and the honest answer is: less disruptive than most people expect.
The key things to know
The restoration process is wet, not dusty — rotary machines use water, which keeps the fine particles in the slurry rather than in the air. The team will protect surrounding surfaces before starting. The room being worked on will be out of use during the job, but other rooms in the house are unaffected. Once the work is complete and the sealer has been applied, you typically need to stay off the floor for 24 hours and avoid getting it wet for 48–72 hours while the sealer cures fully.
For kitchens, the main practical consideration is access to your worktops and appliances on the day of work — your contractor will advise on the best way to manage this. For hallways, the team can often work in sections to maintain access through the house. It is worth discussing logistics when you book, so the day runs smoothly.
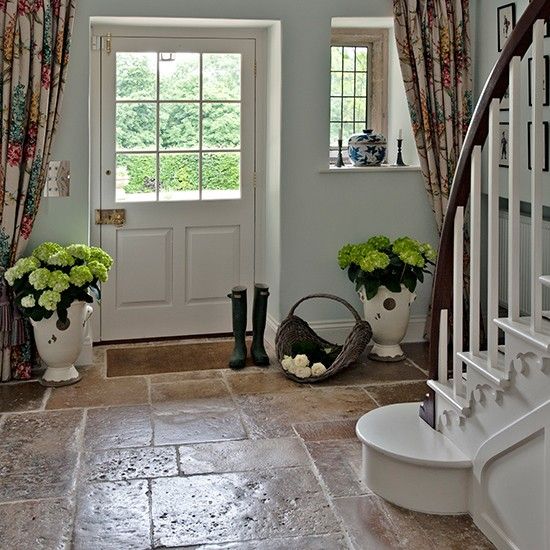
What will the finished floor look like?
For most Sussex homeowners, the result is genuinely transformative. A floor that has been dull, scratched and tired-looking for years — sometimes so gradually that the deterioration was barely noticed — comes back to a finish that can equal or surpass the day it was first laid.
It is worth being clear about what restoration can and cannot achieve. Surface scratches, etching, dullness, staining and general wear are all fully correctable. Very deep structural cracks may show slight evidence of repair, particularly on darker stones. A good contractor will be honest with you at survey stage about the likely outcome for your specific floor, so there are no disappointments on the day.
Ready to book your stone floor survey?
We offer free, no-obligation surveys and written quotes across East and West Sussex — including Brighton & Hove, Lewes, Eastbourne, Chichester, Worthing, Horsham and surrounding areas. We'll walk you through exactly what the job involves before any work begins.
Visit: sssr.co.uk/contact
Prices consistent with SSSR published guidance for East and West Sussex, 2026.
Contact us
SSSR
4 The Twitten
Albourne
BN69DF
info@sssr.co.uk
01273 936055
SSSR© 2026. All rights reserved.